How to convert Font Awesome to png icons
Mar 22, 2014Font Awesome provides a unique iconic font that is designed for Twitter bootstrap. It comes with icons that are scalable for customization using Cascading Style Sheet (CSS). The CSS platform provides a style language that allows you to design the layout of documents in HTML file. You can optimize the various parameters of your icons with Font Awesome such as changing the font type, font size, icon size, colors, margins, shadow, width and other advanced positioning of an icon.
Font Awesome Enticing Features
Font Awesome is specifically designed for Boostrap which is the front-end network that helps developers to create responsive and mobile projects online. Any person at various web design and developing skills can easily use the Font Awesome to deliver more creative icons for their website designs. With a single font you can create 369 differently styled icons with a pictographic language feature. The Font Awesome current version is 4.0.0. Compatibility issue is not a problem with Font Awesome because it does not require JavaScript. The process of customization process involves a straightforward manner using CSS. Its scalable vectors allow you to change the size of your icon in order to fit any design and make your iconic designs look awesome.
Converting Font Awesome to PNG
You can further customize Font Awesome as a Portable Network Graphics (PNG) file. This file format supports lossless data compression and it uses a file extension of png or as a Multipurpose Internet Mail Extension (MIME) media type in image/png format. Using PNG supports images that are palette based, full color non-palette based and in grayscale images. PNG is the most commonly used lossless image compression format that is widely used by web designers. Because by default the iconic font is available in CSS, you need to convert the Font Awesome to PNG file with these steps:
<b>Method 1.</b>
- Step 1. Access and download the Font Awesome program from the Font Awesome website.
- Step 2. Secure the Font Awesome TTF File from the GitHub storage.
- Step 3. Save this Font Awesome usage file
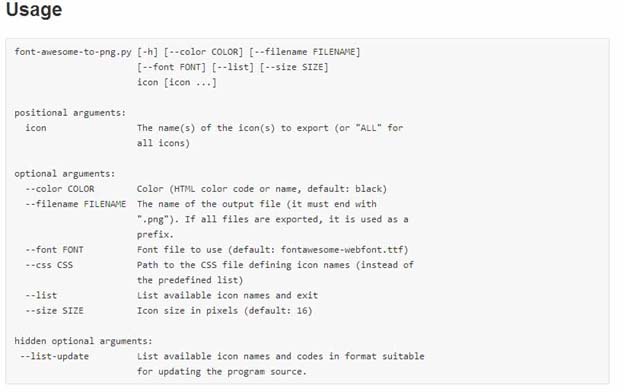
- Step 4. Start creating your Font Awesome icons in PNG with the following examples:
Extract the Font Awesome icon by exporting the play and stop icon in 24 x 24 image pixel using this code.
Extract the Font Awesome icon by exporting the asterisk icon in 32 x 32 image pixel using this code.
Font-awesome-to-png.py - - size 24 play stopExtract the Font Awesome icon by exporting all of the icons available using this code.Font-awesome-to-png.py –size 32 –color blue asteriskFont-awesome-to-png.py ALL
<b>Method 2.</b>
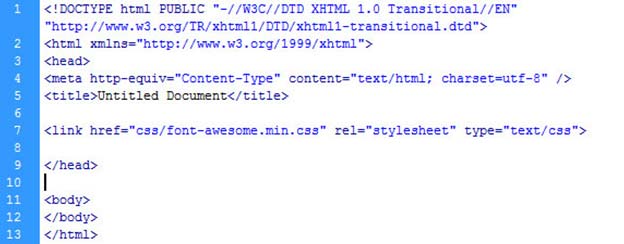
The Font Awesome can also be converted alternatively with this second method by converting it to PNG format using its default PHP file in HTML as shown by this code:
<ul>
<li>Step 1. Your web server should be running PHP 5 and the GP module installed to your computer.</li>
<li>Step 2. Access and download the Font Awesome program from the <a href="http://fortawesome.github.io/Font-Awesome/" rel="nofollow">Font Awesome website</a>.</li>
<li>Step 3. Secure <a href="https://github.com/FortAwesome/Font-Awesome" rel="nofollow">the Font Awesome TTF File</a> from the GitHub storage. Make sure that you drop it to the same directory as its PHP code. </li>
<li>Step 4.  Run the PHP code from the browser to the console.</li>
</ul>

<h3>Modifying the generate .php</h3>

1. The available sizes to the generated Font Awesome icons in PNG images are seen from this code:
<code class="html">
$outputSizes = array('128', '96', '64', '48', '32', '24', '16');
Simply modify the size according to your preference by either reducing or adding the numbers from the code.
2. The Font Awesome color is also defined by this PHP code:
1 $outputColors = array
2 (
3 'white'=>array('r'=>255, 'g'=>255, 'b'=>255),
4 'grey'=>array('r'=>128, 'g'=>128, 'b'=>128),
5 'black'=>array('r'=>0, 'g'=>0, 'b'=>0),
6 );
3. Modifying the icons.data.php
You need to tweak on the icons.data.ph code to map the character code that the Font Awesome uses to the outputted png coded file. Each time the Font Awesome adds a new addition of icons to its data you can make the proper modification according to the style that you want to have from the Font Awesome icon in PNG file. In order to do this you need to access the CSS file of Font Awesome. For instance if you want to modify the glass icon from Front Awesome the code in CSS file will look like this:
1 .fa-glass:before{
2 content: “\f000”;
3 }
Map out the PHP code into something like this:
1 $icons = array
2 (
3 'glass'=>array('code'=>''),
4 );Customizable iconic fonts and icons that you can convert to PNG file
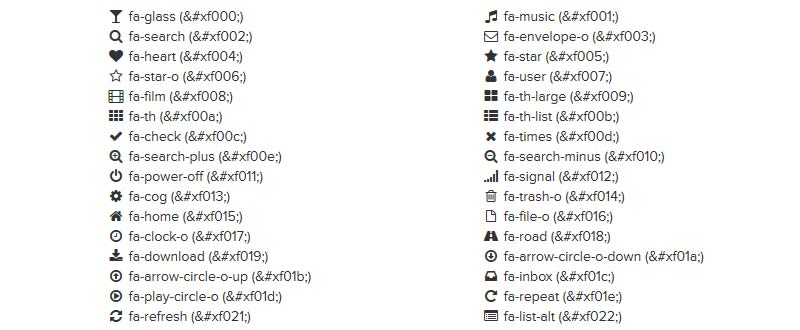
There are many Font Awesome icons that you can extract to convert in PNG file. The latest version is the Font Awesome 4.0 that is constantly updated with awesome new iconic designs and they come in various categories. You can choose from these icons: brand, web application, currency, form control, directional, text editor, medical and video player. The icons look good in retina display because of it is in vector shapes.
The Font Awesome upgrade in 4.0
If you are running the older version of the Font Awesome in 3.2.1 you can now upgrade to its latest 4.0 version directly from the Font Awesome site. There are a lot of customization options that are available for the web designers to choose from by including the creation of inland icons, larger icons and fixed width icons, spinning icons, stacked icons and rotated and flipped icons.
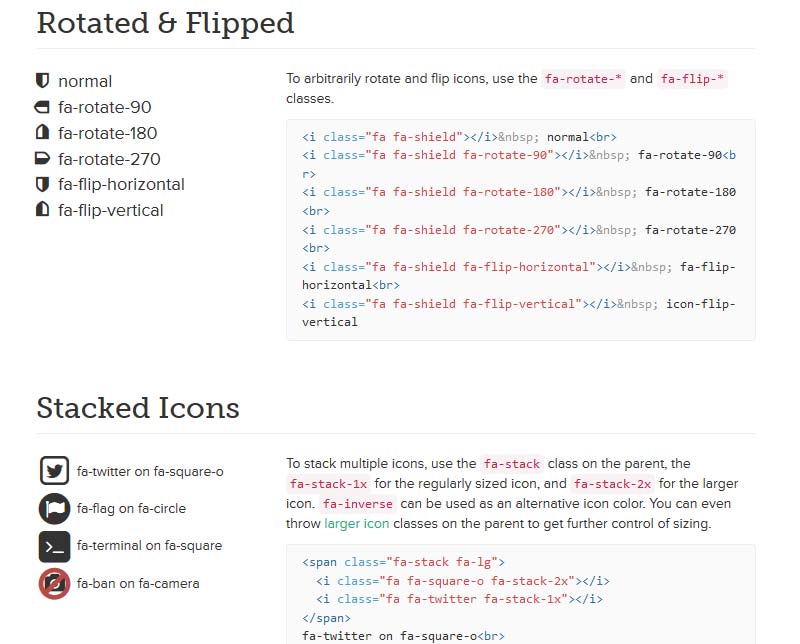
You can extract the file and convert it to PNG format using the steps above. The best thing about Font Awesome is that it is an open source and anyone can always scale the icon size accordingly without compromising the graphic quality of the icons. Sometimes changing the image size can compromise the pixilation of the image especially when its size is magnified. This issue does not occur to the Font Awesome icons because it has the ability to retain its original pixels in high quality condition. Web designers recommend the use a Font Awesome icon that is not less than 216px x 216px in size when designing the icon in PNG format to retain better quality of the icon image.
Actually there is a more easy way to do this thing - to use a free Iconion that converts Font Awesome into beautiful PNG icons in a couple of clicks. Iconion is a great designing tool and is easy to use in order to achieve desirable results. The tool sets a new standard that marks a good quality of highly customizable Font Awesome to PNG icons.
Related
Get Iconion
Free download for Windows and Mac!
 Iconion


